How to replace a Photoshop Smart Object
Adobe Photoshop's Smart Objects are a powerful feature that allows you to work non-destructively with your images and designs. One of the key advantages of Smart Objects is the ability to replace the contents of a Smart Object with new content while retaining all the transformations, filters, and adjustments applied to it. In this tutorial, we'll walk you through the step-by-step process of replacing a Smart Object in Adobe Photoshop.
Step 1: Open Your Photoshop Document
Begin by opening the Photoshop document (.PSD file) that contains the Smart Object you want to replace. Make sure you have the Layers panel visible as you'll need it for this process.

Golden Chrome Effect by Divided.co
Step 2: Identify the Smart Object
In the Layers panel, locate the Smart Object layer that you want to replace. It will have a Smart Object icon (a small page with a folded corner) next to its thumbnail.

Step 3: Double-Click on the Smart Object Thumbnail
To access the contents of the Smart Object, double-click on the Smart Object thumbnail in the Layers panel. This will open a new tab with the contents of the Smart Object. Alternatively you can right-click on the layer and go to “Edit Contents”.

Step 4: Replace the Contents
In the new tab that opens, you can see the contents of the Smart Object. Now, you can replace these contents with your new image, text or design. Ensure you delete any existing layers.

Step 5: Save and Close the Smart Object
Once you've added your new content to the Smart Object, save the changes by going to "File" > "Save" (or simply press Ctrl/Command + S). After saving, close the Smart Object tab.
Step 6: Return to the Main Document
Switch back to your main Photoshop document where you originally had the Smart Object. You should now see that the Smart Object has been updated with your new content, and any transformations, filters, or adjustments applied to it should still be intact.

Step 7: Fine-Tune if Necessary
You can now fine-tune the placement and adjustments of the replaced Smart Object in your main document as needed. You can use transformation tools, layer styles, or any other Photoshop features to make it blend seamlessly with your design.
Step 8: Save Your Document
Finally, don't forget to save your Photoshop document to ensure that your changes are preserved.
That's it! You've successfully replaced a Smart Object in Adobe Photoshop, allowing you to update the content while maintaining the integrity of your design. This non-destructive workflow is incredibly useful for working with complex compositions and making changes without starting from scratch.
Effects used in this tutorial
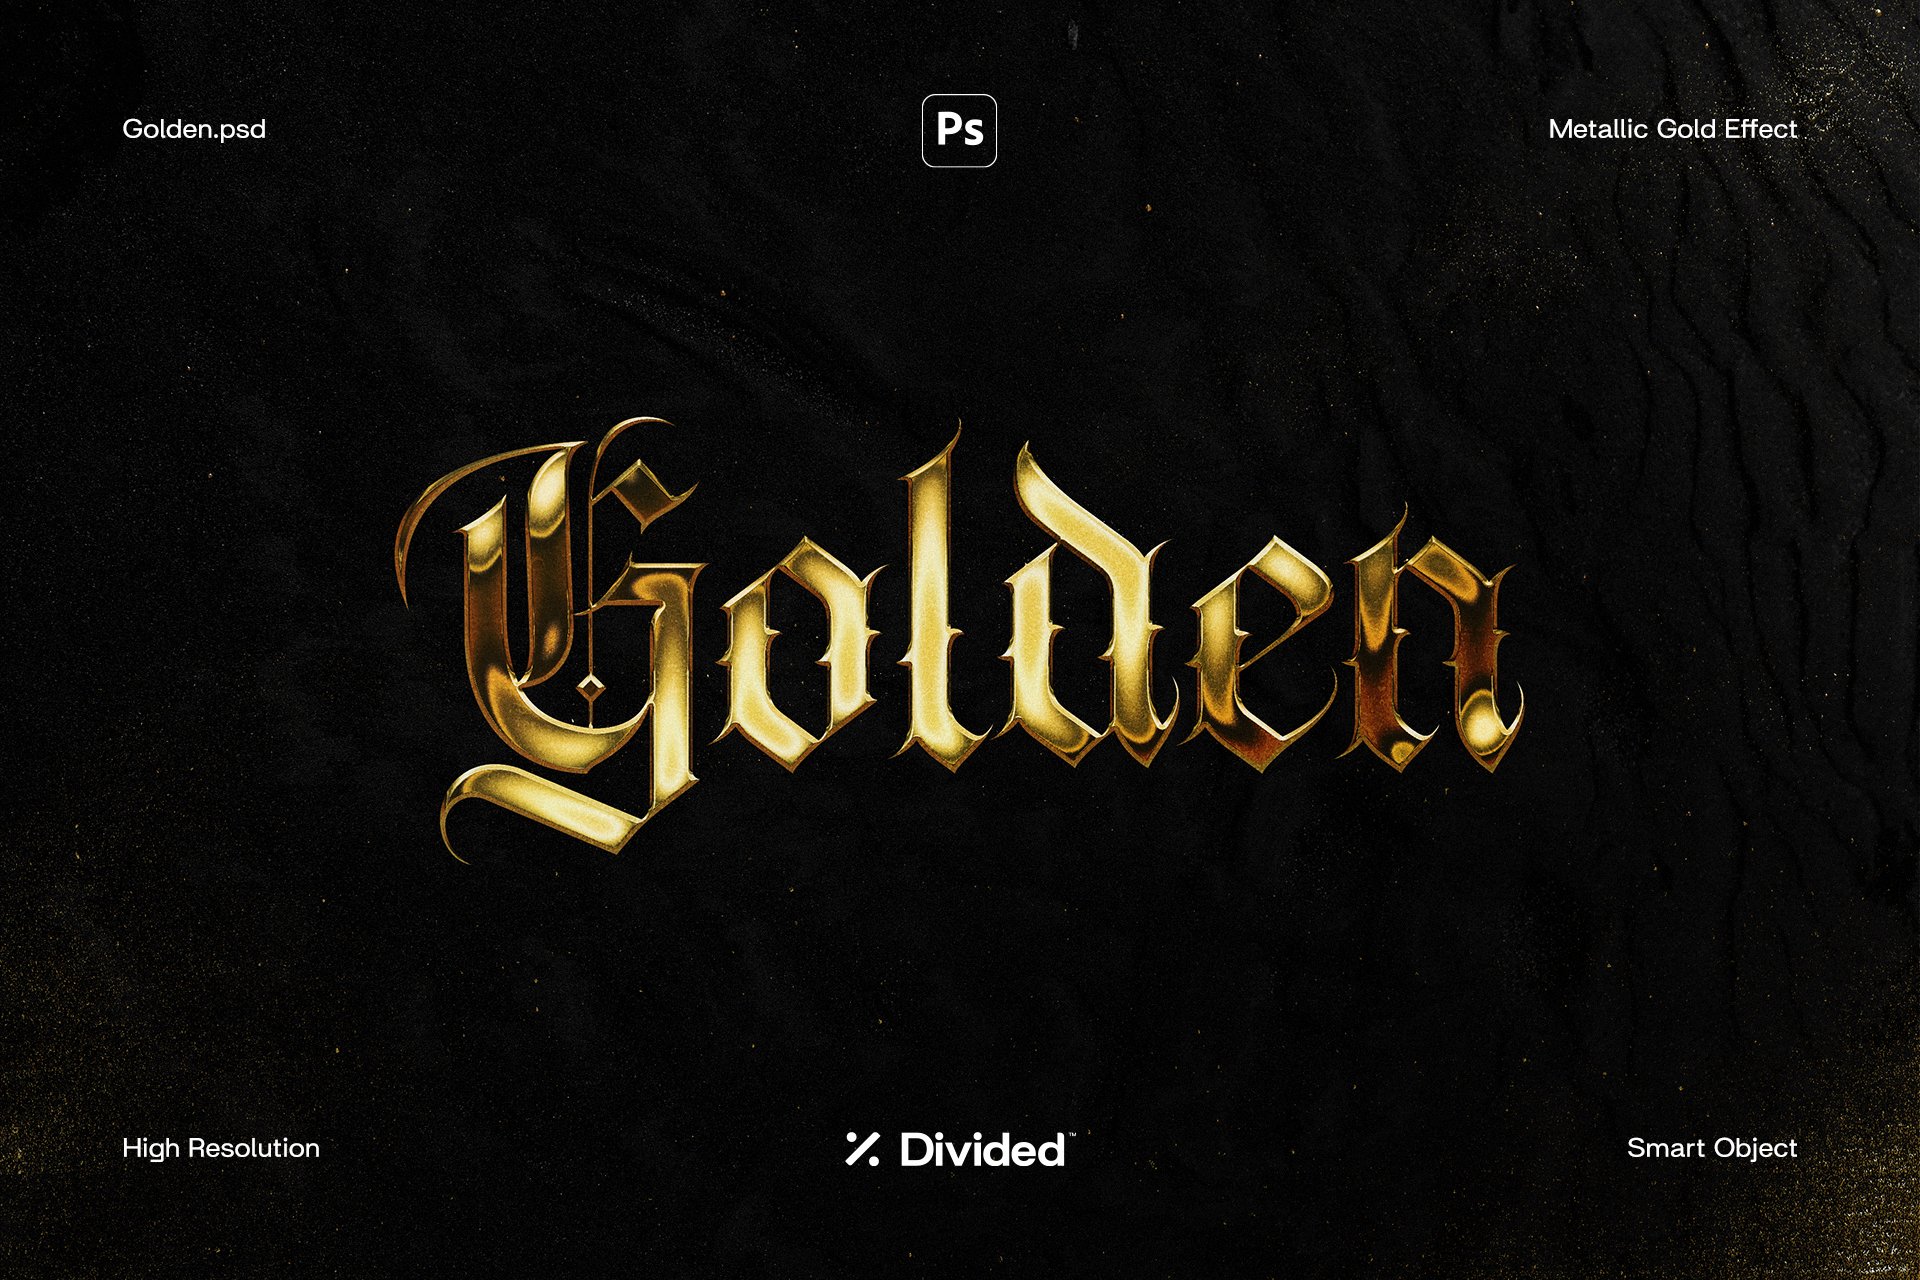
Golden is a Photoshop Effect ideal for achieving an authentic metallic gold effect. Simply drop your logo or typography into the Smart Object and let our pre-defined custom effects do the rest.
Features:
Adobe Photoshop .PSD File
Smart Object Replacement
Easily Editable
High Resolution 300 Dpi
RGB Colour Mode
3508×2480 Pixel Dimension
Please ensure your Adobe Photoshop is up-to-date with the most recent version available to ensure the effect works correctly.