How to apply texture to your images in Photoshop
In Adobe Photoshop, you can create visually captivating images by applying textures to your photos using different layer blending modes. Two commonly used blending modes for this purpose are 'Screen' and 'Multiply.' In this tutorial, we will show you how to apply textures using both the 'Screen' and 'Multiply' blending modes.

Step 1: Open Your Image
Begin by opening the image you want to add texture to in Adobe Photoshop. Go to "File" > "Open" and select your image from your computer.

Step 2: Import the Texture
Next, open the texture you want to apply to your image. Go to "File" > "Open" again, and this time, choose the texture file. This will open the texture in a new tab. We’ll use our Rough Paper Texture Set in this example.
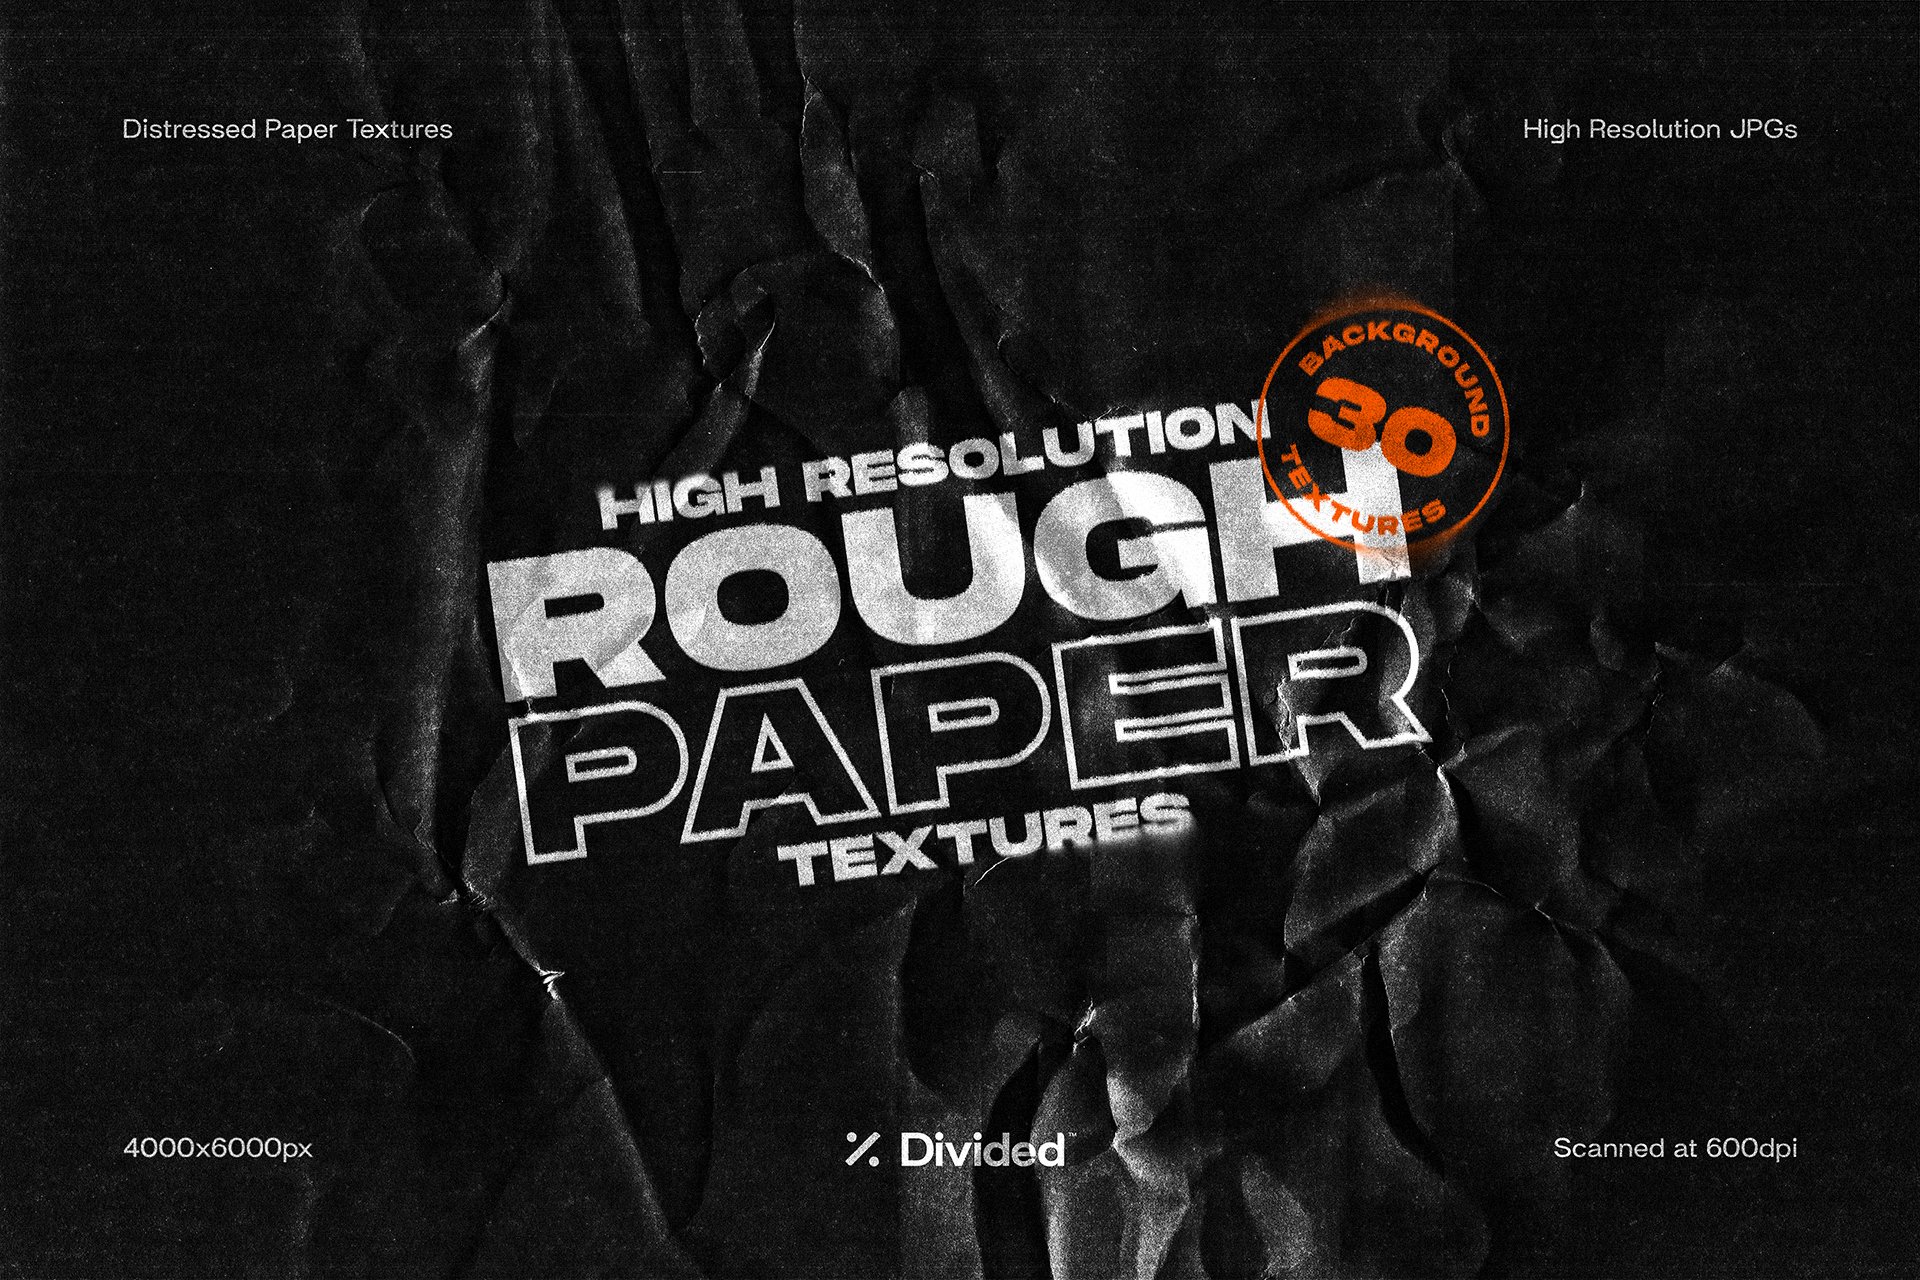
Add some grunge and texture to your design with our Rough Paper Texture bundle, including an assortment of high resolution distressed paper backgrounds. Pick from 30 black, white, lined and grid textures all scanned at 600dpi to preserve a high level of detail.
Includes 30 Background Textures:
10 x White Paper
10 x Black Paper
5 x Grid Paper
5 x Lined Paper
Features:
30 x Individual JPGs
Scanned at 600dpi
Highly Detailed
Clearly Labeled Filing System
Step 3: Copy the Texture
In the texture tab, press Ctrl/Command + A to select the entire texture, and then press Ctrl/Command + C to copy it to your clipboard.

Step 4: Paste the Texture into Your Image
Switch back to your original image tab. Press Ctrl/Command + V to paste the texture onto your image. By default, the texture will be on a new layer named "Layer 1" or something similar.

Step 5: Resize and Position the Texture
The texture layer may not perfectly fit your image. To resize and position it, use the Move Tool (shortcut: V). Click and drag the texture to adjust its placement and use the handles around the bounding box to resize it as needed. You can also press Ctrl/Command + T for free transform to refine the size and rotation.
Step 6: Apply the 'Screen' Blending Mode
In the Layers panel, with the texture layer selected, change the blending mode from the drop-down menu located at the top of the panel. Set it to 'Screen.'
The 'Screen' blending mode makes the dark areas of the texture transparent and blends the lighter areas with the underlying image. This creates an effect where the texture interacts with the image's highlights and bright areas.

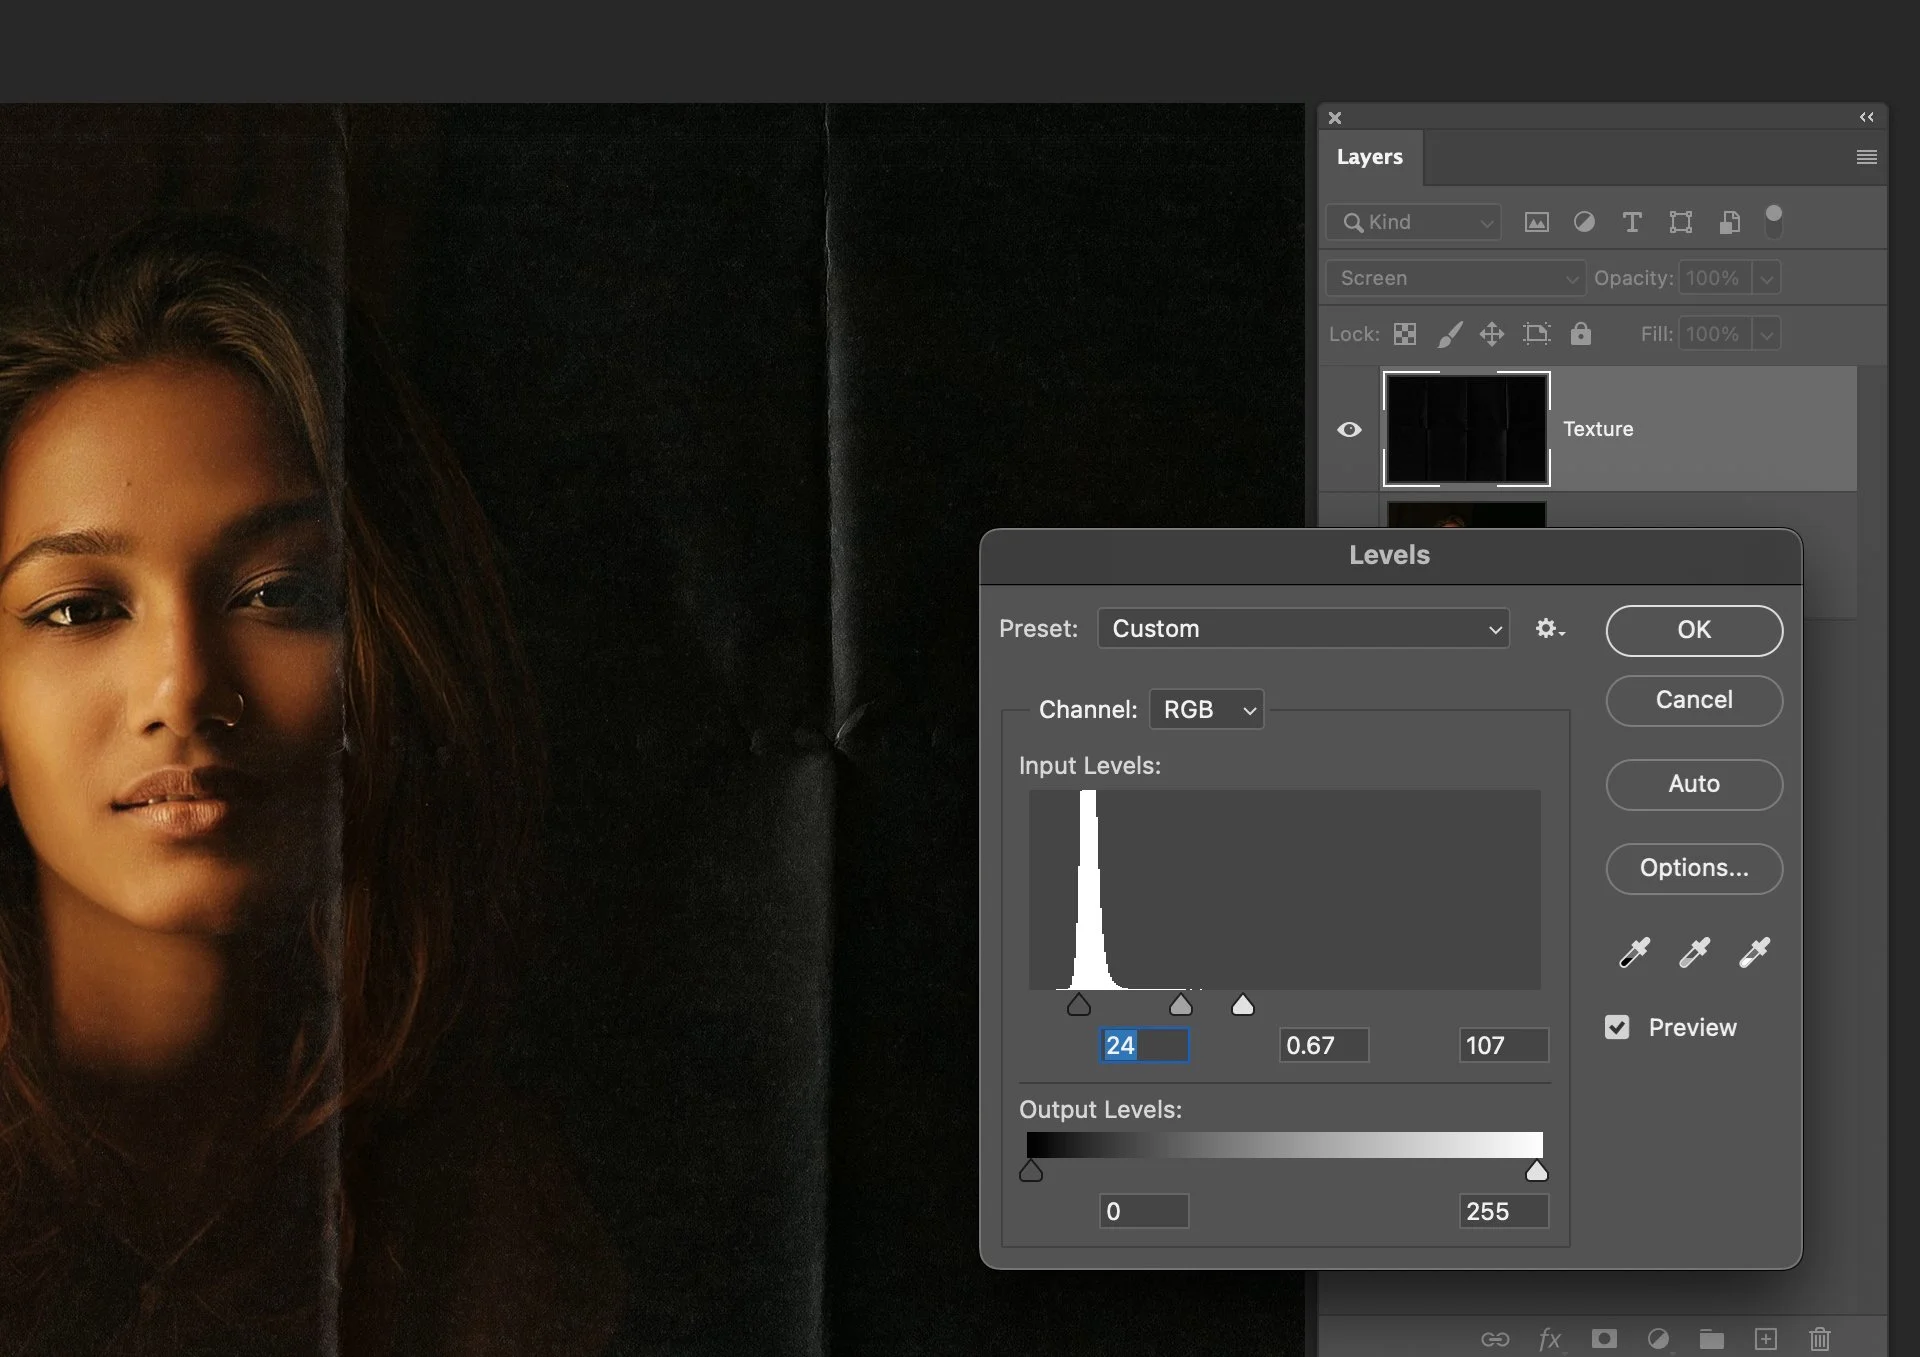
Step 7: Adjust Levels for Better Contrast (Optional)
Before fine-tuning opacity and blending modes further, you may want to adjust the levels of the texture layer to enhance contrast and make it better suit your design:
Select the texture layer in the Layers panel.
Go to "Image" > "Adjustments" > "Levels."
In the Levels dialog box, you'll see a histogram representing the tonal range of the texture. Drag the black point slider to the right to deepen the shadows and the white point slider to the left to brighten the highlights.
Experiment with the middle gray slider to adjust midtones as needed.
Click "OK" when you're satisfied with the contrast adjustments.
This step allows you to fine-tune the texture's contrast to better match the style and mood of your design. It can make the texture more or less prominent, depending on your preferences.
Step 8: Adjust Opacity (Optional)
If the texture appears too intense, you can lower the opacity of the texture layer in the Layers panel to make it more subtle. Simply drag the Opacity slider to the left until you achieve the desired level of texture blending.
Step 9: Duplicate the Texture Layer (Optional)
To enhance the texture effect, you can duplicate the texture layer by right-clicking on the layer in the Layers panel and selecting "Duplicate Layer." Experiment with different opacity levels and layer positioning to achieve the desired result.
Step 10: Apply the 'Multiply' Blending Mode (Optional)
Now, let's add an additional texture for variety. This time we’ll use a white paper texture, with minimal distress. Change the blending mode of the new texture layer to 'Multiply' from the blending mode dropdown menu.
The 'Multiply' blending mode blends the texture's dark areas with the underlying image while keeping the lighter areas transparent. This creates an effect where the texture interacts with the image's shadows and darker regions.

Step 11: Adjust Opacity and Blend as Needed
Fine-tune the opacity of the 'Multiply' texture layer if necessary. You can also experiment with layer masks, layer styles, and other adjustments to achieve the desired texture effect.
Step 12: Save Your Edited Image
Once you're satisfied with the texture application, save your edited image by going to "File" > "Save" or "File" > "Save As."

That's it! You've successfully applied texture to your image using the 'Screen' and 'Multiply' layer blending modes in Adobe Photoshop. These techniques can add depth and character to your photos and designs, allowing you to create stunning visual effects.